If you have noticed that your shower does not hit as hard as it used to, or that the kitchen faucet takes longer to fill a pot than it did a year ago, there is a good chance mineral buildup is at least part of the reason. Water pressure issues frustrate homeowners because the cause is not always obvious. The pipes look fine from the outside. There are no visible leaks. The water bill has not changed. But something has clearly shifted, and the culprit is often hiding inside the pipes, fixtures, and appliances themselves in the form of limescale and mineral deposits that accumulate gradually and silently over months and years.
Understanding how mineral buildup develops, which parts of a home it affects most, and what can be done about it gives homeowners a practical advantage in maintaining their plumbing and keeping their home performing the way it should. This is not a problem limited to old homes or poorly maintained ones. Any home supplied by hard water, which describes a very large portion of homes across California including much of the Silicon Valley and Bay Area region, is susceptible to this issue from the first day it is connected to the water supply.
What Mineral Buildup Actually Is and How It Forms
The water that comes through household pipes is not pure H2O. It carries dissolved minerals picked up as it moves through rock and soil before reaching the water treatment system and eventually the home. Calcium and magnesium are the two most common minerals in hard water, and when water that contains these minerals is heated or evaporates, it leaves the minerals behind as a solid deposit. This deposit is what most people call limescale, hard water stains, or mineral buildup, and it is physically hard, white to yellowish in color, and bonds tightly to whatever surface it forms on.
The rate at which buildup accumulates depends on how hard the water is, measured in grains per gallon or milligrams per liter of dissolved minerals. Water hardness varies by region and even by neighborhood depending on the water source. The Silicon Valley area draws water from multiple sources, and hardness levels can vary, but many Bay Area residents deal with moderately to significantly hard water that leaves visible deposits on fixtures, glass shower doors, and faucet aerators over time.
Heat accelerates mineral deposition dramatically. This is why the worst buildup in a home tends to appear in the water heater, the dishwasher, the washing machine, kettles, and showerheads, all of which involve heating water as part of their normal operation. Inside a water heater, mineral deposits can accumulate as a thick layer on the heating element and tank floor over years of use, reducing heating efficiency and shortening the life of the unit. Inside pipes, the buildup forms on the interior walls and gradually narrows the diameter through which water can flow.
How Mineral Deposits Reduce Water Pressure Step by Step
The connection between mineral buildup and reduced water pressure is a direct one, though it develops slowly enough that many homeowners do not notice the change until it has progressed significantly. Water flows through pipes under pressure, and the amount of pressure at any fixture depends on several factors including the diameter of the pipe, the distance from the supply line, and the absence of obstructions. Mineral deposits act as an obstruction that narrows the pipe diameter from the inside.
Even a thin layer of limescale on the interior wall of a pipe reduces the effective opening through which water can pass. As the layer thickens over time, the restriction becomes more pronounced. The pressure drop becomes noticeable first at fixtures at the end of the supply run, farthest from where the main line enters the home, because they are already working against the greatest distance. Eventually, even fixtures closer to the main supply feel the effect.
Showerheads are one of the most telling indicators of mineral buildup in a home because their small nozzle holes are among the first to become restricted. When individual nozzles clog with mineral deposits, water sprays unevenly, some holes stop producing flow entirely, and the overall pressure drops noticeably. Removing a showerhead and soaking it overnight in white vinegar dissolves most mineral deposits and restores flow through the nozzle holes. This is one of the simplest and most immediately satisfying home maintenance tasks available, and the improvement in water pressure after cleaning a heavily scaled showerhead is often dramatic.
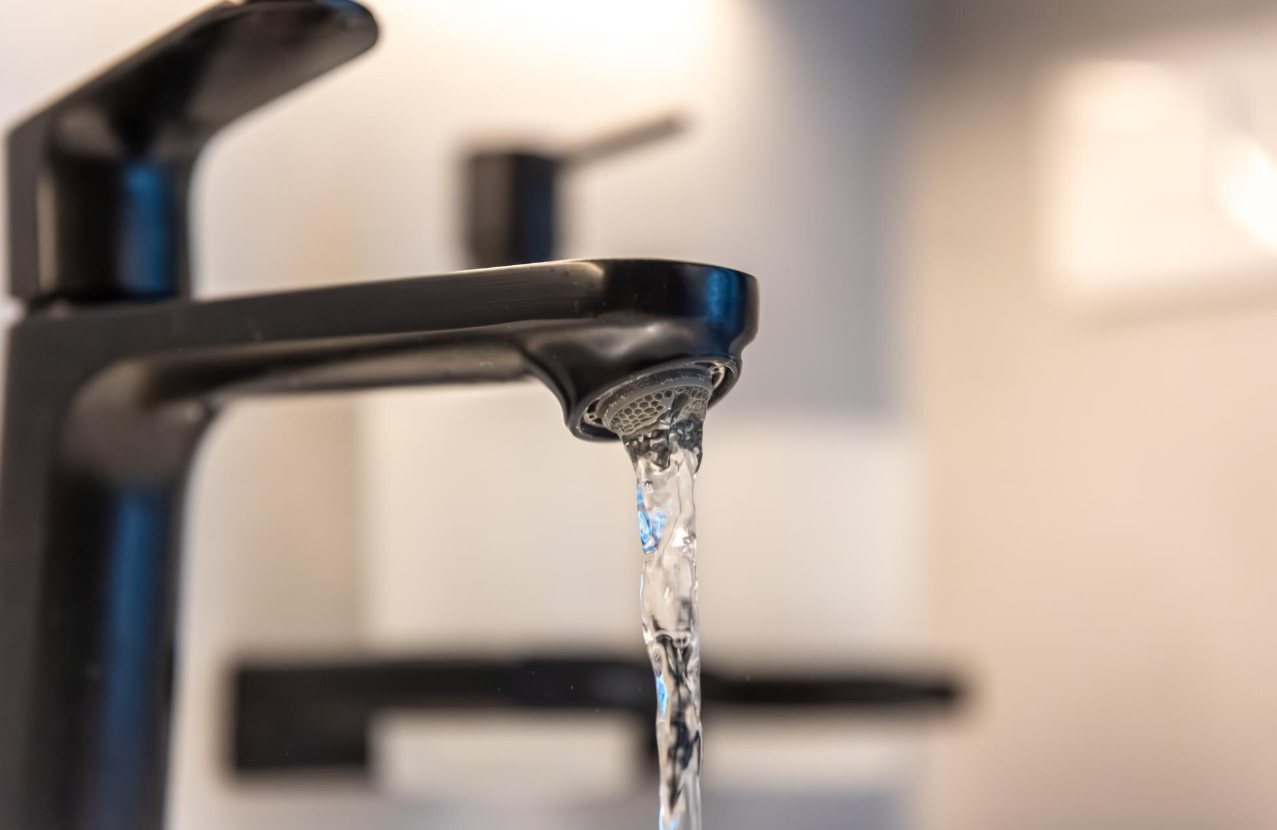
Faucet aerators, the small screens at the tip of faucets, experience the same kind of clogging. These screens mix air into the water stream and regulate flow, but when mineral deposits clog the mesh, flow drops and pressure at that fixture suffers. Aerators can be unscrewed, soaked in vinegar, and rinsed clean in a few minutes. Doing this quarterly in a hard water area keeps faucet performance consistent.
Here are the most common places in a home where mineral buildup reduces water pressure and performance:
Showerhead nozzles that become partially or fully blocked, causing uneven spray and lower pressure
Faucet aerators clogged with calcium deposits that restrict flow at individual fixtures
Interior pipe walls in older homes where buildup has accumulated over many years of hard water use
Water heater inlet and outlet connections where deposits narrow the flow path into and out of the tank
Dishwasher spray arms with small holes that clog with minerals and reduce cleaning performance
Washing machine inlet filters that collect deposits and reduce water intake during fill cycles
Ice maker water lines in refrigerators that narrow with scale and slow ice production
The water heater deserves special attention because its condition affects pressure and performance throughout the home. When mineral sediment accumulates on the floor of a tank-style water heater, the layer insulates the heating element from the water, forcing it to work longer and harder to reach temperature. This reduces efficiency and raises energy costs. When enough sediment accumulates, it can partially block the outlet pipe at the bottom of the tank, reducing hot water pressure specifically, which explains why some homeowners notice pressure differences between hot and cold water at their fixtures.
Cleaning Mineral Buildup
The approach to removing mineral deposits depends on where they are and how severe the buildup has become. For surface-level deposits on fixtures, tiles, shower doors, and faucets, white vinegar is the most accessible and safest removal agent available. Its mild acidity dissolves calcium and magnesium deposits without damaging most surfaces. For visible hard water stains on glass shower doors, a paste of baking soda and vinegar applied and left to sit for thirty minutes before scrubbing removes most staining without scratching the glass. Soaking a cloth in white vinegar and wrapping it around a faucet base or around a showerhead for an hour loosens deposits that wiping alone cannot remove.
For tile and grout in bathrooms and kitchens where mineral deposits combine with soap scum to create a hard, discolored crust, a more thorough approach is needed. Professional kitchen and bathroom cleaning that targets grout, tile faces, and fixture bases uses appropriate products and tools that remove this composite buildup without damaging the surface. This level of cleaning also gets behind fixtures and around the base of faucets where mineral deposits and mildew grow together in areas that casual cleaning misses.
Pressure washing is one of the most effective ways to address mineral and biological buildup on exterior surfaces. Hard water used in irrigation leaves white mineral deposits on driveways, walkways, and exterior walls over time. Power washing services for driveways and patios remove these deposits along with algae, mold, and grime using appropriate pressure and cleaning agents for each surface type. Advanced pressure washing and exterior care restores surfaces to a condition that not only looks better but also removes the mineral and biological growth that causes surfaces to deteriorate faster over time.
For the plumbing system itself, annual flushing of the water heater removes sediment before it accumulates to the level where it affects performance. Many plumbing professionals recommend flushing the tank by connecting a hose to the drain valve and running water out until it runs clear, which removes the loose sediment at the bottom of the tank. Installing a whole-home water softener is the most effective long-term solution for hard water in the Bay Area, as it removes the calcium and magnesium from the water before it enters the home’s plumbing system, preventing new deposits from forming throughout the entire house.
Heavenly Maids Cleaning Services in Silicon Valley provides residential cleaning and deep cleaning services across the Bay Area that address the visible effects of hard water throughout the home. From professional kitchen and bathroom cleaning that removes fixture buildup and hard water staining to window washing services that eliminate mineral deposits from glass, the work connects directly to how the home functions and how well it is maintained over time. Recurring maid cleaning services that include consistent attention to mineral-prone surfaces keep buildup from reaching the level where it becomes a problem, which is always easier and less costly than addressing it after it has had months or years to accumulate.
Hard water and mineral buildup are facts of life in many Bay Area homes, but they do not have to mean compromised water pressure, stained fixtures, and etched glass. With the right maintenance schedule, appropriate cleaning methods for each surface, and professional support when the buildup has gone too far for home remedies to handle alone, a home’s plumbing and surfaces can stay in genuinely good condition for the long term.
There are few things more frustrating in a clean home than walking into the kitchen and being hit by a bad smell that seems to be coming from the sink. The rest of the kitchen looks fine. The counters are wiped. The trash has been taken out. But that odor keeps coming back no matter how much dish soap goes down the drain. It is one of the most common household complaints, and the reason it is so persistent is that most people treat the symptom rather than the source. Pouring a little cleaner down the drain helps for a day or two, and then the smell returns. That cycle continues because the actual cause has not been addressed.
Kitchen sink odors come from several distinct sources, and each one requires a different approach to fix properly. Some are simple and easy to resolve at home. Others point to deeper issues in the drain system or under the sink that need more attention. Understanding where the smell is actually coming from is the only way to get rid of it for good, and this guide covers every common cause along with practical steps to address each one.
The Most Common Sources of Sink Odors and What Causes Them
The drain itself is the first place most people suspect, and often for good reason. Every time food particles, grease, coffee grounds, and organic debris go down the drain, some of it does not make it all the way through the pipe. Instead, it sticks to the inside walls of the drain pipe, accumulates in the P-trap beneath the sink, or collects around the drain stopper and strainer. As this organic material sits in a warm, damp environment, bacteria begin breaking it down. The byproduct of that bacterial decomposition is hydrogen sulfide gas, which is the source of the rotten egg or sewage smell that comes up through the drain opening.
Grease is one of the biggest contributors to this problem. Many homeowners pour cooking grease down the sink because it is liquid when hot, but as it cools inside the pipe, it solidifies and coats the interior surface. Over time this coating traps food particles and creates a thick, odor-generating layer inside the drain that water alone cannot wash away. Even small amounts of grease poured regularly into the drain add up quickly and create a buildup that smells progressively worse as it grows.
The P-trap is the curved section of pipe directly under the sink that holds a small amount of water at all times. This water acts as a seal that prevents sewer gases from rising up through the drain and into the kitchen. If the sink has not been used for an extended period, such as in a vacation home, a guest bathroom, or a sink that is rarely used, the water in the P-trap can evaporate.
Once that water barrier is gone, sewer gas rises freely through the open pipe and into the room. The fix for this specific cause is simply running water in the sink for a few minutes to refill the trap. If the smell is sewage-like rather than food-related, a dry P-trap is often the culprit.
The garbage disposal is another major source of sink odors that gets overlooked because people assume that running the disposal clears everything out. In reality, the rubber splash guard at the top of the disposal, which is the flap-like piece that sits in the drain opening, collects an enormous amount of food residue on its underside. Most people never clean this piece, and it becomes one of the most bacteria-laden surfaces in the entire kitchen. Food particles also collect inside the grinding chamber on and around the blades, and the combination of moisture, food residue, and warmth creates ideal conditions for odor-producing bacteria to multiply.
The drain stopper in sinks equipped with a pop-up drain mechanism is another hidden odor source. Hair, soap scum, and debris collect on and around the stopper mechanism below the sink, in the area where the pivot rod connects to the stopper. This buildup decomposes in place and sends odors up through the drain. Removing and cleaning the stopper and the pivot rod area monthly makes a noticeable difference in drain odors for sinks that use this type of mechanism.
Here are the most common causes of kitchen sink odors in one place for quick reference:
Grease and fat buildup coating the interior of the drain pipe.
Food particle accumulation in the P-trap and drain walls.
A dry P-trap that is no longer blocking sewer gas.
Dirty garbage disposal splash guard and grinding chamber.
Debris on and around the drain stopper mechanism.
Mold or mildew growing inside the drain or on the underside of the sink.
A partially blocked vent pipe that disrupts proper drain airflow and allows gas buildup.
Bacterial biofilm growing on the interior surface of the drain pipe over time.
How to Properly Clean a Smelly Sink Drain
Once the source of the odor is identified, the cleaning process is straightforward for most of these causes, and the most effective methods do not require harsh chemical drain cleaners, which can damage pipes over time and are not safe in homes with children or pets.
For standard buildup and bacterial odor, the baking soda and white vinegar method is one of the most reliable eco-friendly home cleaning solutions available. Pour half a cup of baking soda directly into the drain, followed immediately by half a cup of white vinegar. The reaction between the two creates a fizzing action that scrubs the interior walls of the drain and disrupts the bacterial biofilm causing the odor. Let this sit for fifteen to twenty minutes, then flush with a full kettle of boiling water. Boiling water helps melt and flush grease that has solidified in the pipe. Repeating this process weekly keeps most drains smelling clean without any chemical products.
For the garbage disposal specifically, the most effective cleaning approach involves several steps. First, turn off the disposal and use a small brush, an old toothbrush works well, to scrub the underside of the rubber splash guard thoroughly. This single step removes one of the most concentrated sources of odor in the entire drain system and is something most people have never done. After cleaning the splash guard, drop a handful of ice cubes and a tablespoon of rock salt into the disposal, run it for thirty seconds with water, and then grind several citrus peels. The ice and salt scrub the grinding chamber, and the citrus oils leave the disposal smelling clean.
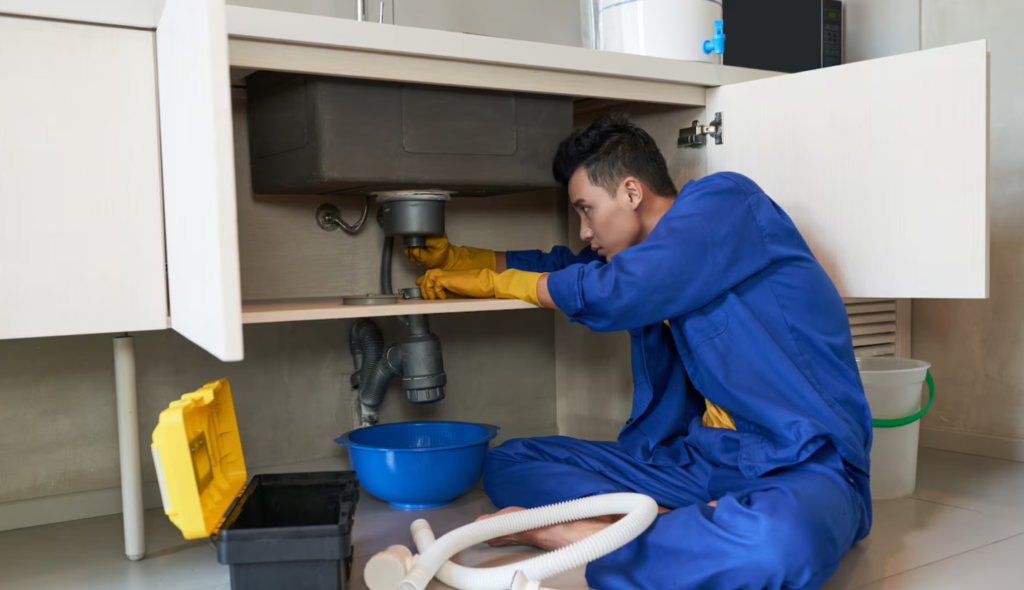
For the P-trap, if the smell is clearly sewage-like and the drain is used regularly, the P-trap itself may have a significant accumulation of debris inside the curve. Placing a bucket under the P-trap, unscrewing the slip nuts on either side, and removing the curved section for manual cleaning gives a much more thorough result than any liquid treatment. Rinse the P-trap completely, scrub the interior with a bottle brush, and replace it before running water to check the seal. This task takes about ten minutes and can make a dramatic difference when the P-trap is heavily loaded with accumulated debris.
Under-sink mold is something many homeowners discover during this process. If there is a slow drip from any connection under the sink, even a very small one, moisture accumulates on the cabinet floor and the surrounding surfaces. Mold grows quickly in this enclosed, dark, damp environment and contributes its own distinct musty odor to the kitchen. Fixing the drip and cleaning the mold from the cabinet interior eliminates this source. Professional kitchen and bathroom cleaning that includes under-sink inspection catches this type of issue before it becomes a larger mold problem.
When the Smell Points to a Bigger Problem
Most kitchen sink odors respond well to regular cleaning and the methods described above. But there are situations where a persistent smell that does not improve with cleaning points to something in the plumbing system that requires professional attention.
A blocked or damaged drain vent pipe is one such issue. The drain vent system runs from the drain pipes up through the roof of the home and allows air to enter the drain system so that water flows smoothly and sewer gases exhaust properly to the outside. When a vent pipe becomes blocked by debris, bird nests, or damage, the pressure imbalance in the drain system can pull water out of P-traps and allow sewer gas to enter the home through multiple drains simultaneously. If several drains in the home smell at the same time, or if gurgling sounds accompany the odor, a vent pipe issue is the likely cause and needs a licensed plumber to address it.
Recurring sink odors in a home that has recently been purchased or rented are worth paying extra attention to because they can indicate long-standing buildup or plumbing issues that the previous occupant never resolved. Move-in and move-out cleaning that includes a thorough kitchen deep clean addresses surface-level causes but cannot resolve underlying plumbing issues. Scheduling a professional kitchen cleaning alongside a plumbing inspection when moving into an older home covers both possibilities.
Heavenly Maids Cleaning Services in Silicon Valley provides detailed home cleaning services for families across the Bay Area, including thorough kitchen cleaning that covers drains, under-sink areas, disposal units, and all the spaces that routine cleaning tends to miss. Recurring maid cleaning services that include regular kitchen attention keep odors from returning and catch early signs of mold or moisture issues before they develop into bigger problems.
A clean kitchen sink is one of the most basic but most satisfying results of a well-maintained home. When the source of the odor is properly identified and addressed, and when consistent cleaning habits are built around the areas that accumulate the most organic debris, that recurring drain smell stops coming back. That is the difference between treating the symptom and actually solving the problem, and it is the kind of outcome that makes the kitchen feel genuinely clean from floor to sink.
The kitchen is the most used room in most homes. Food gets prepared there multiple times a day, and the appliances that make that possible work hard and collect grease, food residue, bacteria, and odors as a natural byproduct of daily use. Most people wipe down counters regularly and wash dishes after every meal, but kitchen appliances often get ignored until the buildup becomes impossible to overlook.
The microwave smells every time it runs. The refrigerator has mystery residue on a shelf. The oven is coated in baked-on grease from months of use. These are not just aesthetic problems. Dirty appliances harbor bacteria, affect food safety, reduce the efficiency of the equipment, and can even shorten the lifespan of expensive machines you depend on every day.
Knowing how often to clean each kitchen appliance, and what actually needs to happen during each cleaning, takes the guesswork out of kitchen maintenance and keeps your cooking environment genuinely clean rather than just surface-level tidy. The frequency varies by appliance and by how heavily it is used, but there are clear standards that work well for most households.
Daily and Weekly Appliances: What Needs the Most Frequent Attention
Some kitchen appliances need attention far more often than others because of how frequently they are used and how quickly they accumulate residue that can become a food safety issue.
The microwave is one of the appliances that gets dirty fastest and is cleaned least often. Food splatters coat the interior walls, ceiling, and turntable every time something is heated without a cover. These splatters dry and harden quickly, and as they accumulate, the microwave starts to smell every time it runs, and bacteria begin to multiply in the wet, warm residue left behind.
The microwave should be wiped down inside at least once a week in a household that uses it daily. A simple and effective method is to heat a bowl of water with a few slices of lemon for three to four minutes, then let it sit for another two minutes before opening. The steam loosens the dried splatter, making it easy to wipe clean with a damp cloth. The turntable should be removed and washed weekly as well.
The coffee maker is an appliance most people clean far less often than they should. The carafe and removable parts should be washed after every use. The internal components of a drip coffee maker, including the water reservoir and the brewing mechanism, accumulate mineral deposits from water and coffee oils that affect the taste of the coffee and can promote bacterial and mold growth in the damp interior. Running a descaling cycle with a mixture of equal parts white vinegar and water once a month, followed by two full cycles of plain water to rinse, keeps the internal workings clean and the coffee tasting the way it should.
The toaster and toaster oven collect crumbs in their base trays with every use. These crumbs are a fire risk and also attract pests if left to accumulate. Toaster crumb trays should be emptied and wiped clean at least once a week. The interior of a toaster oven, which collects grease and food debris much more than a standard toaster, should be fully cleaned every two weeks for households that use it frequently, and the glass door should be addressed at the same time since baked-on grease on glass is harder to remove the longer it sits.
Monthly and Seasonal Appliances: Going Deeper Where It Counts
Some kitchen appliances need less frequent cleaning but require a more thorough approach when the time comes. Letting these go too long between cleanings leads to the kind of buildup that is hard to remove, affects appliance performance, and creates real food safety concerns.
The refrigerator is one of the most important appliances to keep clean because it is where food is stored, and cross-contamination from spills, leaks, and expired food affects everything else in the unit. Shelves and drawers should be removed and washed thoroughly at least once a month. The door seals, which are rubber gaskets that run around the perimeter of every door, collect crumbs, moisture, and mold in their ridges and should be scrubbed with a damp cloth or a soft brush monthly.
The coils at the back or bottom of the refrigerator, depending on the model, collect dust and reduce the efficiency of the cooling system when dirty. These should be vacuumed or brushed clean every six months. The drip pan underneath, which collects condensation, should be removed and cleaned at the same interval to prevent mold and odor buildup.
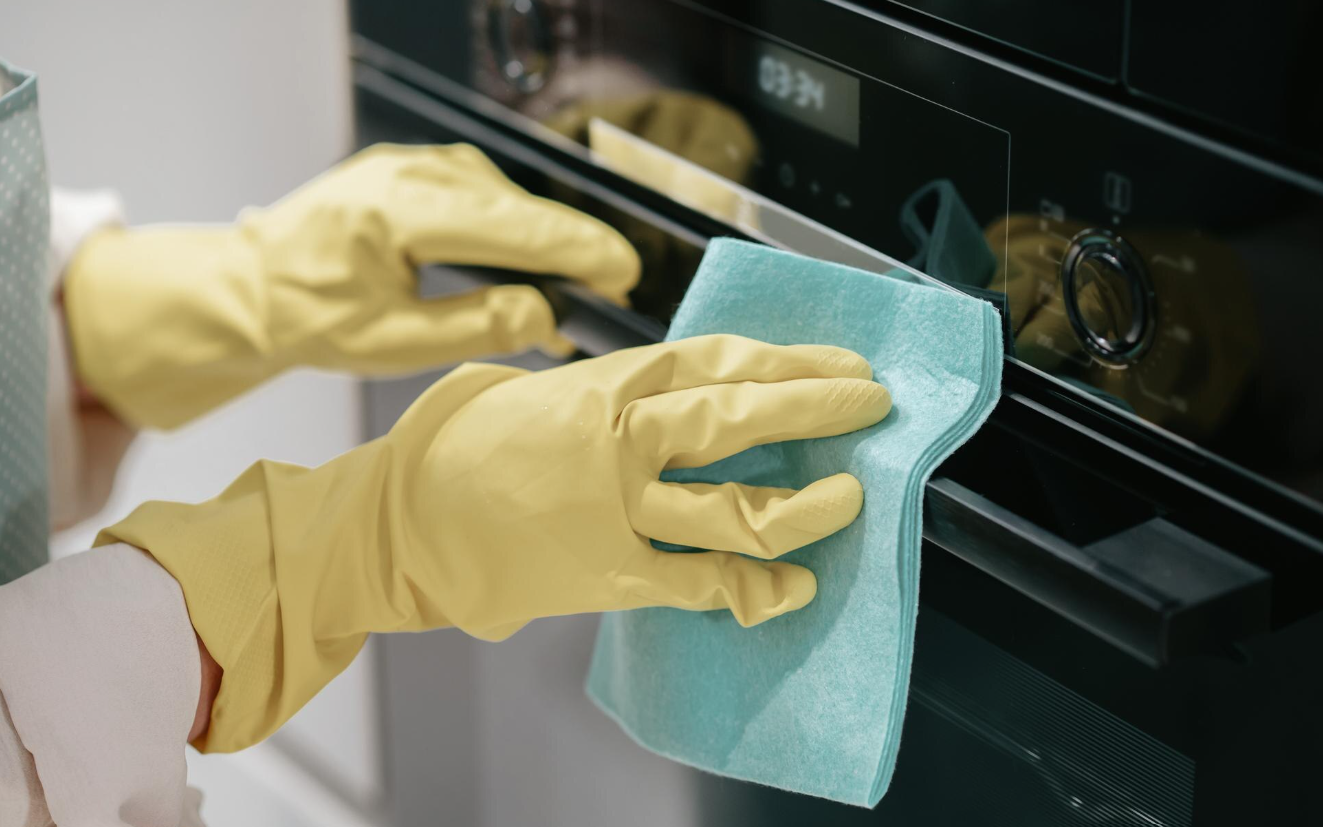
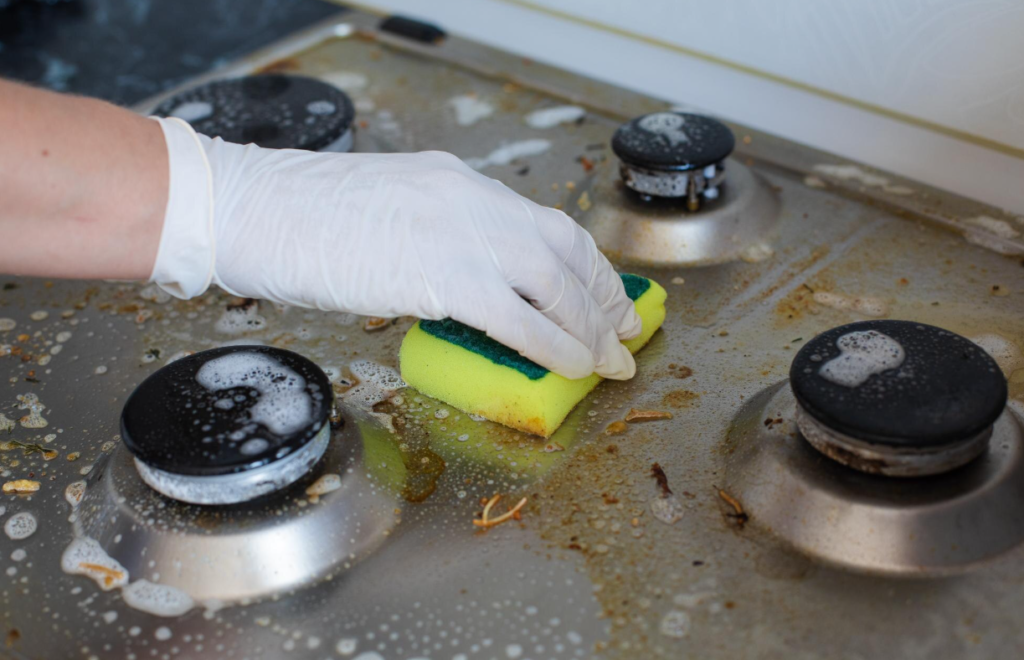
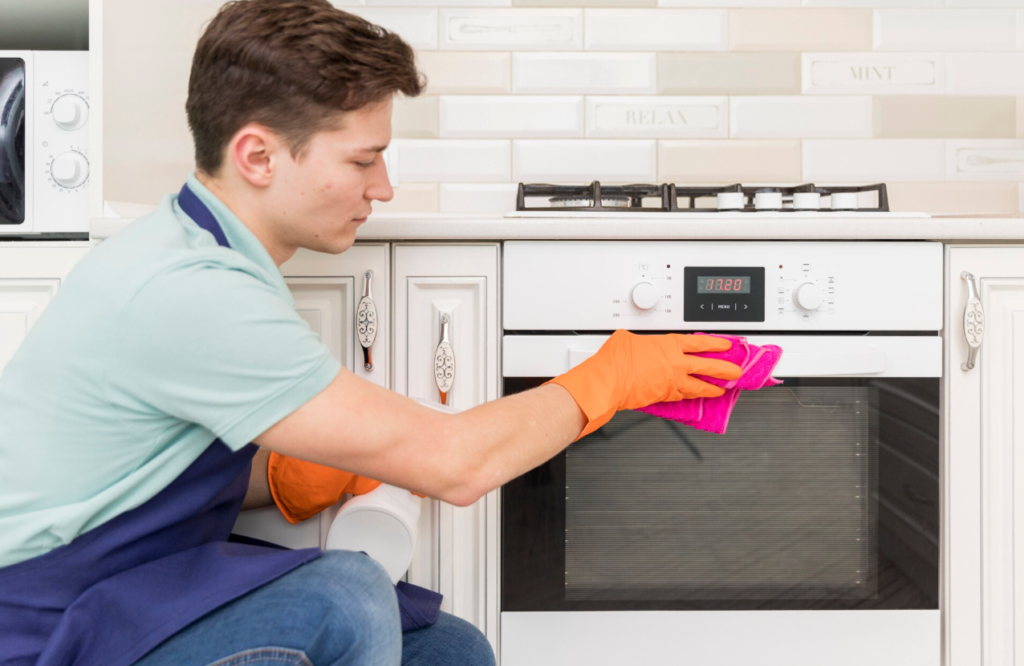
The oven needs a deep clean every one to three months depending on how often it is used and what is cooked in it. Roasting meats, baking dishes with cheese, and cooking anything at high temperatures with oil or fat all contribute to grease buildup on the oven walls, floor, and ceiling. This baked-on grease affects cooking performance, causes smoke and unpleasant odors during use, and is a fire hazard if it accumulates heavily. Self-cleaning cycles work but produce high heat and significant smoke.
A manual deep clean using a baking soda paste left to sit overnight followed by wiping and a light application of white vinegar is effective for most ovens and does not require harsh chemical oven cleaners that produce dangerous fumes. The oven racks should be removed and soaked in hot soapy water before scrubbing, as this is far easier than trying to clean them inside the oven.
The dishwasher cleans dishes but does not clean itself. Food particles collect in the filter at the bottom of the unit, and mineral deposits and soap scum build up on the interior walls and spray arms over time. The filter should be removed and rinsed under running water weekly in a household that runs the dishwasher daily. A full interior cleaning with a dishwasher cleaner tablet or a cup of white vinegar placed in the bottom of an empty machine and run on a hot cycle should be done once a month. The door gasket collects food residue and moisture and should be wiped down with a damp cloth weekly to prevent mold growth.
Here is a quick reference cleaning schedule for the most common kitchen appliances:
Microwave: Wipe interior and wash turntable weekly
Coffee maker: Wash removable parts after each use, descale monthly
Toaster and toaster oven: Empty crumb tray weekly, deep clean every two weeks
Refrigerator shelves and drawers: Remove and wash monthly
Refrigerator door seals: Scrub monthly
Refrigerator coils and drip pan: Clean every six months
Oven interior: Deep clean every one to three months
Oven racks: Remove and soak monthly or as needed
Dishwasher filter: Rinse weekly
Dishwasher interior: Run a cleaning cycle monthly
The Appliances People Forget and Why They Matter
Beyond the main appliances most people think of, there are several kitchen items that collect significant buildup and rarely get cleaned as often as they should.
The range hood and its filters are one of the most overlooked cleaning tasks in any kitchen. The range hood pulls grease-laden air away from the stovetop during cooking and passes it through a filter before exhausting it. That filter becomes coated with grease over time, and a clogged filter reduces the hood’s ability to remove cooking fumes and grease from the air. Metal mesh filters should be soaked in hot water with a degreasing dish soap and scrubbed clean every one to two months for a household that cooks regularly. Charcoal filters in recirculating hoods cannot be cleaned and should be replaced every three to six months.
The garbage disposal develops odors quickly from the organic residue that builds up on the blades and inside the grinding chamber. Running cold water and dish soap through the disposal weekly helps, but a more thorough cleaning using ice cubes and rock salt to scrub the chamber, followed by grinding citrus peels, should be done monthly to address odor and buildup more effectively.
The blender is used frequently in many households but is often cleaned less thoroughly than it appears. Blending residue gets into the blade assembly and the rubber gasket seal and can harbor bacteria if not fully cleaned after each use. Disassembling the blender completely and washing all parts by hand rather than running it as a single unit gives a more thorough result.
Professional kitchen and bathroom cleaning that covers appliances at this level of detail makes a real difference in both the hygiene and the condition of a kitchen over time. Heavenly Maids Cleaning Services in San Jose provides residential deep cleaning services across the Bay Area that include thorough kitchen appliance cleaning as part of a complete home care approach. For busy households that struggle to keep up with the frequency these tasks require, detailed home cleaning services from professional home cleaners handle the deep work while daily habits maintain the baseline between visits.
Recurring cleaning services that include kitchen attention keep appliances from reaching the state where deep buildup becomes a major project. For homeowners preparing a property for a sale or a new tenant, move-in and move-out cleaning that includes thorough appliance cleaning is one of the most appreciated and most impactful parts of the service. Heavenly Maids Cleaning Services brings that level of care and consistency to every kitchen it works in throughout San Jose and the broader Bay Area.
Most homeowners think about cleaning the parts of their home they can see. Floors get mopped, counters get wiped, bathrooms get scrubbed. But the air duct system running through the walls and ceilings of a home is doing one of the most important jobs in the entire house, and most people never think about it until something goes wrong.
Air ducts carry heated and cooled air to every room, which means anything living inside them, whether that is dust, mold, pet dander, or debris, gets distributed throughout the home every single time the HVAC system runs. Over time, the buildup inside a duct system can significantly affect the air quality inside a home, the efficiency of the heating and cooling system, and the health of the people breathing that air every day.
The question most homeowners have is not whether to clean their air ducts but when. Timing matters, and knowing the signs that your system needs attention, as well as understanding how often professional duct cleaning should happen under different circumstances, helps you stay ahead of the problems that come from neglecting this part of your home.
How Often Should Air Ducts Be Cleaned?
The general industry recommendation for most homes is to have air ducts professionally cleaned every three to five years. This applies to a typical single-family home with average occupancy, no pets, no recent construction, and no known mold or moisture issues. Under those conditions, three to five years is a reasonable interval for keeping the duct system clean without over-servicing it.
That said, this baseline changes significantly depending on what is happening inside the home. A household with one or more pets that shed fur and dander should schedule duct cleaning every two to three years at most, and possibly more frequently if multiple pets share the space. Pet dander is one of the lightest and most persistent airborne particles in a home, and it finds its way into the duct system in large quantities in homes with dogs and cats. Once it settles inside the ductwork, it gets recirculated continuously until it is physically removed.
Homes with young children, elderly residents, or anyone with asthma, allergies, or other respiratory conditions should also consider shorter intervals between cleanings. The people most affected by indoor air quality are the ones who are most vulnerable to what comes out of a dirty duct system. If anyone in the household experiences frequent allergy flare-ups indoors that do not seem to match outdoor pollen levels, or if asthma symptoms are worse at home than elsewhere, the duct system is one of the first places to investigate.
Smokers in the home create a specific type of buildup inside ductwork that combines with dust and creates a sticky, odor-saturated coating inside the ducts. Homes where smoking has occurred indoors for an extended period typically need duct cleaning more frequently and may require additional treatment to address odor compounds embedded in the duct walls.
Clear Signs That Your Air Ducts Need Cleaning Now
Beyond scheduled maintenance, there are specific situations and symptoms that indicate a duct cleaning should happen regardless of when the last one was done.
Visible dust blowing from vents is one of the most obvious signs. If you can see dust or debris coming out of a vent register when the HVAC system kicks on, the interior of the duct has accumulated enough buildup that it is actively shedding material into the room. This is past the point of routine maintenance and into the territory of a system that is already affecting indoor air quality in a measurable way.
A persistent musty smell that intensifies when the heating or air conditioning runs is a strong indicator of mold or mildew inside the ductwork. Moisture can enter a duct system through condensation, leaks, or humidity imbalances, and once it does, mold growth can establish itself inside the ducts and spread spores throughout the home with every air cycle. This is a health concern that warrants prompt professional attention, not just a scheduled cleaning.
If you have recently completed a renovation or construction project inside the home, duct cleaning is not optional. Construction work generates enormous amounts of fine dust from drywall, wood cutting, insulation, and other materials. This dust gets into the duct system during the project and stays there, getting pushed into every room afterward. Professional after-renovation cleaning that includes duct cleaning removes this fine particulate matter and protects the health of anyone returning to live in the space.
An unexplained increase in dust settling on furniture, shelves, and surfaces throughout the home is another reliable sign. If you find yourself dusting more often than usual and the dust seems to return very quickly after cleaning, the duct system may be the source. When ducts are heavily loaded with accumulated debris, they deposit a steady stream of particles onto every surface in the home as air moves through them.
Here are the most common situations that call for air duct cleaning sooner than the standard maintenance schedule:
A new pet has been added to the household, especially one that sheds heavily
Recent home renovation or construction that generated significant dust
Evidence of rodent or insect activity inside the duct system, including droppings or nesting material
Visible mold growth on or around vent registers or inside visible duct sections
A musty or stale odor that worsens when the HVAC system is running
Moving into a home where the previous cleaning history is unknown
Flooding or significant moisture intrusion that may have affected the duct system
A noticeable increase in allergy or asthma symptoms among household members indoors
Move-in cleaning is one of the most important times to schedule duct cleaning, and it is a step that many new homeowners overlook. When you move into a previously occupied home, you have no way of knowing how long the ducts have gone without service, whether the previous residents had pets, whether any moisture issues affected the system, or what the air quality history of the home actually is. Scheduling move-in and move-out cleaning that includes duct cleaning gives you a genuine fresh start rather than inheriting years of someone else’s accumulated dust, dander, and debris.
What Professional Duct Cleaning Actually Involves
Understanding what happens during a professional duct cleaning helps set accurate expectations and explains why the results of a properly done service are so different from simply changing a filter or vacuuming a vent cover.
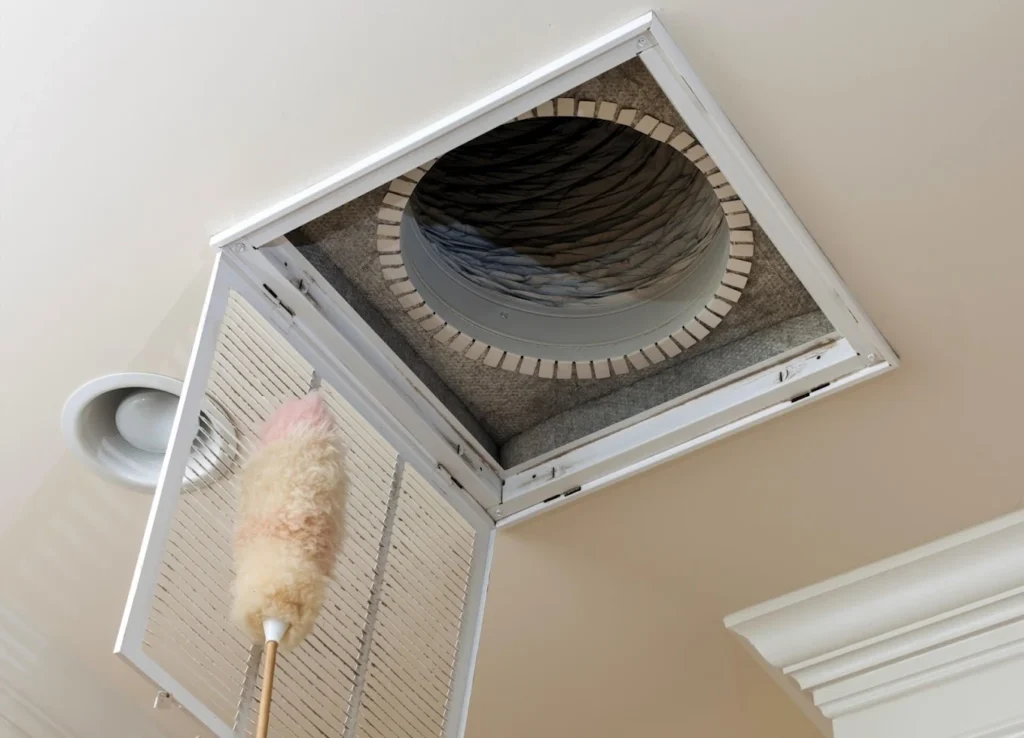
A professional duct cleaning service begins with an inspection of the system to assess the extent of buildup and identify any areas of concern like mold growth, disconnected sections, or evidence of pest activity. The technician then uses a combination of high-powered vacuum equipment and agitation tools to dislodge and extract the debris from inside the duct walls. This equipment creates negative pressure inside the duct system so that dislodged particles are pulled toward the collection equipment rather than blown into the living space. The process covers the main trunk lines, all branch ducts, return air ducts, and the registers and grilles that connect the duct system to each room.
A complete service also includes cleaning or inspecting the air handler, evaporator coil, and drain pan, which are components of the HVAC system that accumulate their own buildup and can contribute to the same air quality problems as dirty ducts. Dryer vent cleaning is often done alongside duct cleaning because it addresses a related but separate system that carries lint and moisture from the dryer to the exterior of the home. A clogged dryer vent is a fire risk and also pushes moisture back into the home, contributing to the humidity conditions that encourage mold growth inside the duct system.
Heavenly Maids Cleaning Services in Silicon Valley provides air duct and dryer vent cleaning as part of a broader approach to home health across the Bay Area. Rather than treating duct cleaning as a standalone service, the connection between clean ducts, clean carpets, clean windows, and overall indoor air quality is addressed as a complete picture. Residential deep cleaning services that include duct cleaning, carpet steam cleaning, and sanitization and disinfecting produce results that last longer and go further than any single service done in isolation.
For homeowners in Silicon Valley and across the Bay Area, staying on a consistent duct cleaning schedule protects both the HVAC system and the people using the home every day. Clean ducts mean the air you breathe at home is genuinely cleaner, the heating and cooling system runs more efficiently, and the dust and allergen load throughout the home stays at a level that regular house cleaning can actually manage. Detailed home cleaning services for busy families that include periodic duct cleaning as part of the plan make it easier to maintain a high standard of indoor air quality without letting this critical but invisible part of the home fall too far behind.
Heavenly Maids Cleaning Services brings that level of attention to every home it services in the Bay Area, from affordable maid services for households on a regular cleaning schedule to premium residential deep cleaning that covers every system in the home from top to bottom. Clean air starts with clean ducts, and knowing when to schedule that service is the first step toward making it happen.